How to Run a QR Code Scavenger Hunt

A QR code scavenger hunt transforms any space into an interactive adventure — for classrooms, corporate events, birthday parties, or team-building days — using nothing more than printed codes and a smartphone.
Key Takeaways
- Each QR code links to a unique URL or text payload that contains the next clue, keeping the hunt fully digital and easy to update.
- You need only a QR code generator, a device to host your clue content, and a way to print or display the codes at each location.
- Planning the route and testing every scan before the event starts is the single most important thing you can do to avoid hiccups on the day.
- Codes can link to videos, forms, riddles, or web pages, so the experience can be as simple or as rich as your audience needs.
- Dynamic QR codes let you edit clue content after printing, which is a genuine time-saver if you want to reuse the hunt for a different group. Learn more about the differences in our guide to static vs dynamic QR codes.
Traditional scavenger hunts rely on paper clues that can get lost, torn, or read by the wrong team. A QR code scavenger hunt solves that by hiding each clue inside a scannable code. Players move from location to location, scan a code at each stop, and receive a digital clue — a text message, a video, a riddle, or even a mini-quiz — that points them to the next spot. The codes themselves reveal nothing until scanned, which keeps the game fair and adds a layer of suspense that paper simply cannot match.
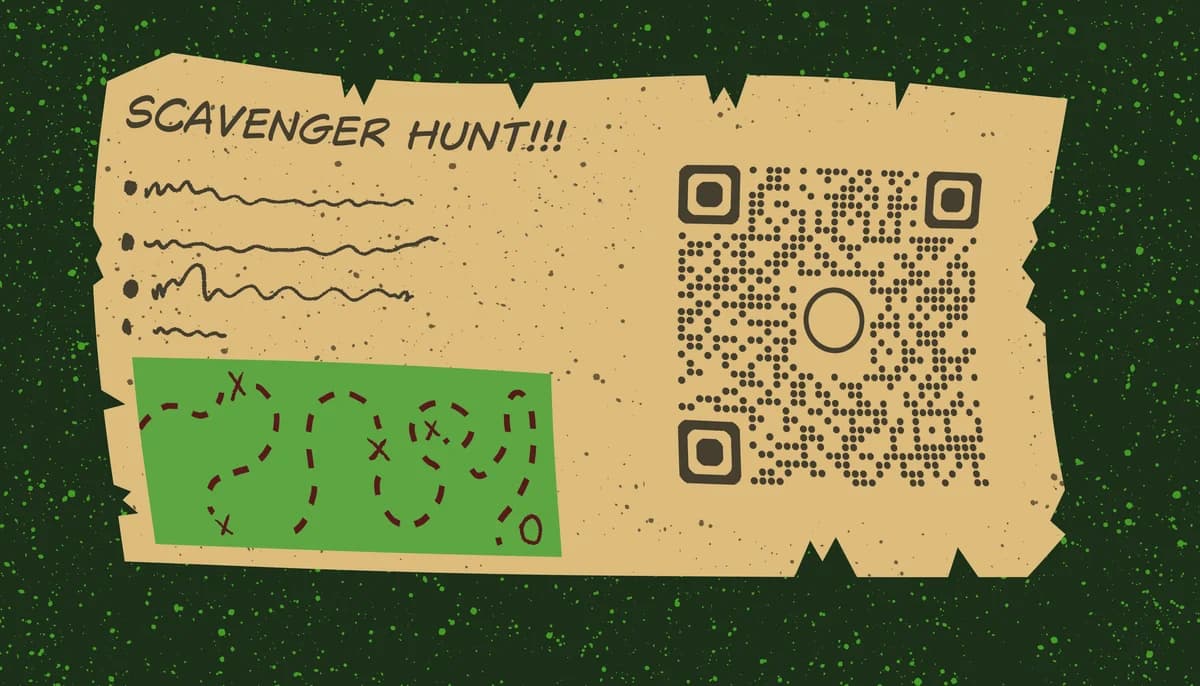
The format works across a huge range of settings. Teachers use it to turn a history lesson into an active classroom exercise. HR teams run them during company retreats to get colleagues talking. Parents set them up for birthday parties so kids stay engaged without constant supervision. Museums and visitor centers use them along exhibits to reward curious guests — a practice explored in depth in our guide to QR codes and museums. Because the clues live online, you can update them in real time, add multimedia, and track who has scanned which code — none of which is possible with a photocopied sheet.
How to set up a QR code scavenger hunt: step by step
Before you create a single code, spend a few minutes mapping out the full experience on paper. Knowing the route, the number of stops, and what kind of clue lives at each stop makes the technical work much faster. Once that plan is solid, the actual build takes less time than you might expect.
Step 1 — Plan your route and clue sequence
Decide how many stops the hunt will have and where each one is located. For indoor events, ten to fifteen stops is a comfortable range. For outdoor or campus-wide hunts, five to eight works better so players are not exhausted before they reach the end. Write out every clue in order, noting what location each clue points to next. This sequence document is your master reference throughout the build, so keep it somewhere you can access quickly.
Step 2 — Create your clue content online
Each QR code needs to point somewhere — a URL is the most flexible option. Create a separate web page, Google Doc, or hosted text file for each clue. If you want to include a video hint, upload it to a private YouTube link and embed it on the clue page — our guide on creating a YouTube QR code walks through exactly how to do this. If you prefer a simple riddle, a plain Google Doc or a free website builder page works fine. Keep each clue page focused: one piece of content, clearly written, with no links that accidentally spoil the next location.
Step 3 — Generate a unique QR code for each stop
With your clue URLs ready, head to and create one code per URL. If you plan to reuse the hunt or update clues later, choose a dynamic QR code so you can edit the destination without reprinting. Give each code a clear file name that matches your route map — something like "stop-03-library" — so you do not mix them up during printing. Download each code as a PNG or SVG at the highest resolution available.
Step 4 — Design and print your code cards
A plain white sheet with a code in the centre works, but a little design effort makes the hunt feel more polished — take a look at our QR code design tips for ideas on colours, logos, and layouts. Add a short instruction like "Scan me for your next clue" so first-time players know what to do. Print codes at a minimum of 2.5 by 2.5 centimetres, though larger is better for outdoor placements where lighting varies. Laminate cards that will be placed outside or in high-traffic areas — moisture and fingerprints degrade print quality faster than most people expect.
Step 5 — Place codes at each location
Position every code at roughly eye level and away from reflective surfaces, which can interfere with the camera's ability to read the pattern. Tape or pin the card so it lies flat — a curled or angled code is harder to scan. Make a note of exactly where you placed each card so you can retrieve them all after the event. It is worth doing a final walkthrough with a spare phone to confirm every placement scans cleanly before participants arrive.
Step 6 — Test the full hunt from start to finish
Walk the entire route yourself, scanning every code in sequence with at least two different devices — an iPhone and an Android if possible. Check that each clue loads correctly, that the content is legible on a small screen, and that there are no broken links. This step catches the vast majority of problems before they affect players. If you are running a timed event, record how long the full route takes so you can set a realistic time limit for participants.
Step 7 — Run the hunt and collect feedback
Brief participants on the rules before they start: scan the code, follow the clue, and do not remove or photograph the cards for other teams. If you are running teams simultaneously, consider staggering start locations so everyone is not crowded around the same first stop. After the event, ask players which clues were too hard, too easy, or confusing. That feedback is invaluable if you plan to run the hunt again. You can read more about tracking scan data in our post on .
Tips for a smoother hunt
Even a well-planned hunt can run into small problems on the day. These practical notes address the issues that come up most often.
Add a backup clue number to each card. If a code gets damaged or a player's phone struggles to scan, they can text or call a host number to receive the clue manually without derailing the whole team.
Use a consistent visual theme across all your code cards — same colours, same font, same logo — so players instantly recognise an official stop versus a random QR code they might encounter in the same space.
Keep clue language age-appropriate and unambiguous. What feels obvious to the person who wrote it often reads as cryptic to someone encountering it cold. Test your clues on one person who had no involvement in planning before the event day.
For large groups, stagger start times or use multiple starting locations that converge at the same final destination. This prevents bottlenecks and keeps the energy up across the whole group. For more ideas on managing QR codes at scale, see our post on creating event QR codes.
If the hunt spans multiple floors or buildings, include a simple map at the starting point so players spend time solving clues rather than getting lost between stops.
Consider adding a short form or photo challenge at one or two stops — players submit a selfie at a landmark or answer a quick question — to add variety and slow down teams that are racing through without engaging.
Frequently Asked Questions
Do participants need a special app to scan QR codes?
No. Any modern smartphone with iOS 11 or Android 8 or later can scan a QR code directly from the built-in camera app, no download required. Pointing the camera at the code and holding steady for a moment is all it takes. This makes QR code hunts accessible to almost any audience without any setup on their end.
How many stops should a QR code scavenger hunt have?
For a classroom or party setting, eight to twelve stops is a good target — enough to create a satisfying journey without the hunt dragging on. For team-building events where engagement over a longer period is the goal, you can push to fifteen or twenty stops. The right number also depends on how complex each clue is; harder clues work better with fewer stops so teams do not get frustrated.
Can I run a QR code scavenger hunt outdoors?
Absolutely. Outdoor hunts work well in parks, on school campuses, and around city neighbourhoods. The main considerations are weatherproofing your printed cards — lamination is strongly recommended — and choosing locations where players can safely stop to scan without blocking foot traffic. Bright direct sunlight can occasionally make screens harder to read, so clue pages with high-contrast text are worth the extra effort when designing for outdoor use.
What should each QR code link to?
The most common choices are a plain web page, a Google Doc, a short video, or a Google Form with a question players must answer before the next clue appears. Web pages give you the most control over formatting and multimedia. Google Docs are the fastest to create. Forms work well when you want to verify that players actually engaged with the clue content rather than just moving to the next location. You can see a full breakdown of QR code content options in our .
What is the difference between a static and dynamic QR code for a scavenger hunt?
A static QR code has its destination permanently encoded in the pattern. Once printed, you cannot change where it points. A dynamic QR code stores a short redirect URL, and you can update the destination at any time through your account dashboard. For a scavenger hunt you plan to run more than once, dynamic codes are the smarter choice because you can swap out clue content between events without reprinting a single card. .
How do I prevent teams from sharing clues and skipping ahead?
The simplest method is to assign each team a unique starting location so they progress through the stops in a different order, arriving at the final destination from different directions. You can also add a team-specific password to each clue page that players must enter before the next clue is revealed, which makes it impossible to skip ahead without completing every stop.
Related Guides
Ready to create your QR code?
Generate custom QR codes in seconds - free and easy to use.
Create Free QR Code →