How to create QR code stickers

What Are QR Code Stickers?
QR code stickers act as a bridge between physical items and digital experiences. A single scan can direct users to:- Websites, social media profiles, or multimedia content
- Contactless payment systems or e-commerce platforms
- Product specifications, instructional videos, or promotional offers
- Event registrations, feedback surveys, or real-time updates
How to Create QR Code Stickers
The process of creating a QR code sticker is straightforward. With the right tools, the process can be smoother. The process is divided into two steps. First, we will generate a QR code and then create the Sticker.
Tools you need.
QR code developer: For QR code generation.
Canva: For creating the Sticker.
Step 1:
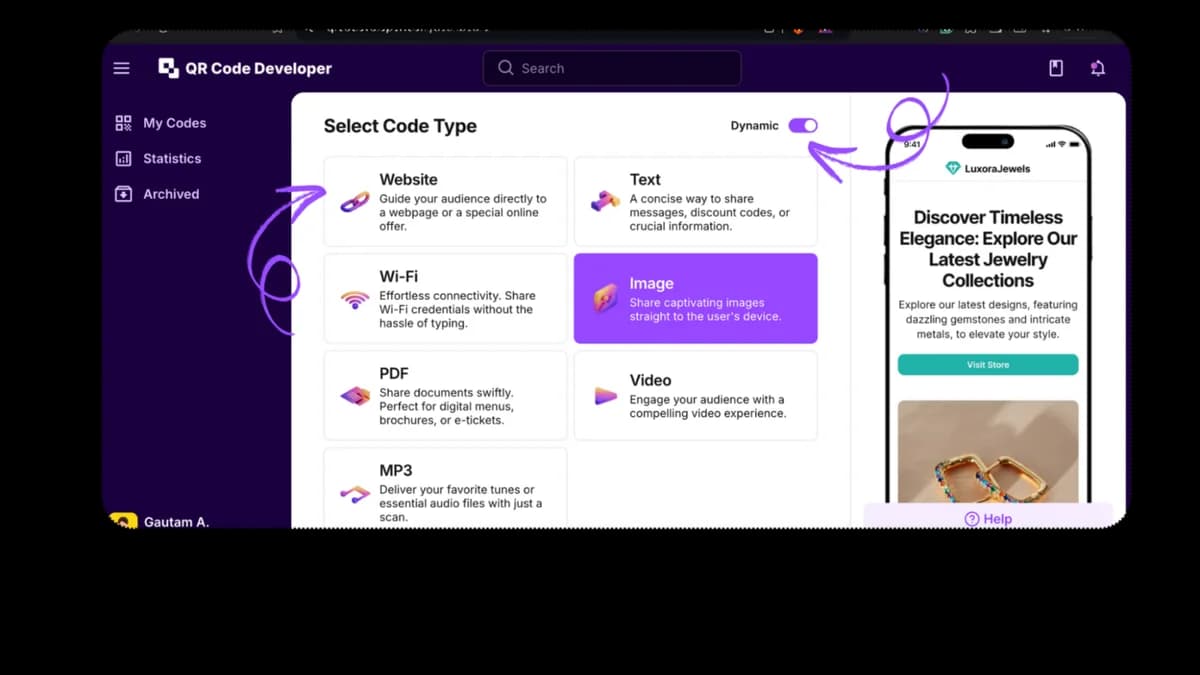
Create a QR code.1. Go to QR Code Developer and click on ‘Create QR code.’

3. Input your website URL.
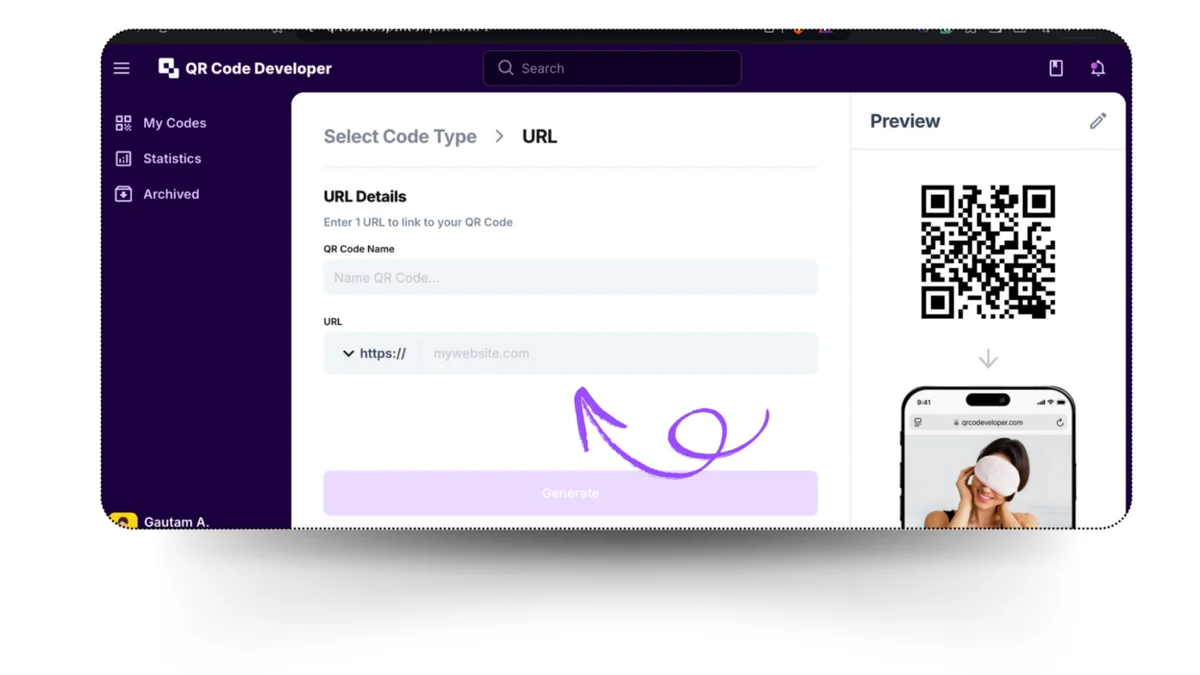
4. Click on the pencil icon to customize your QR Code's design:

Step 2:
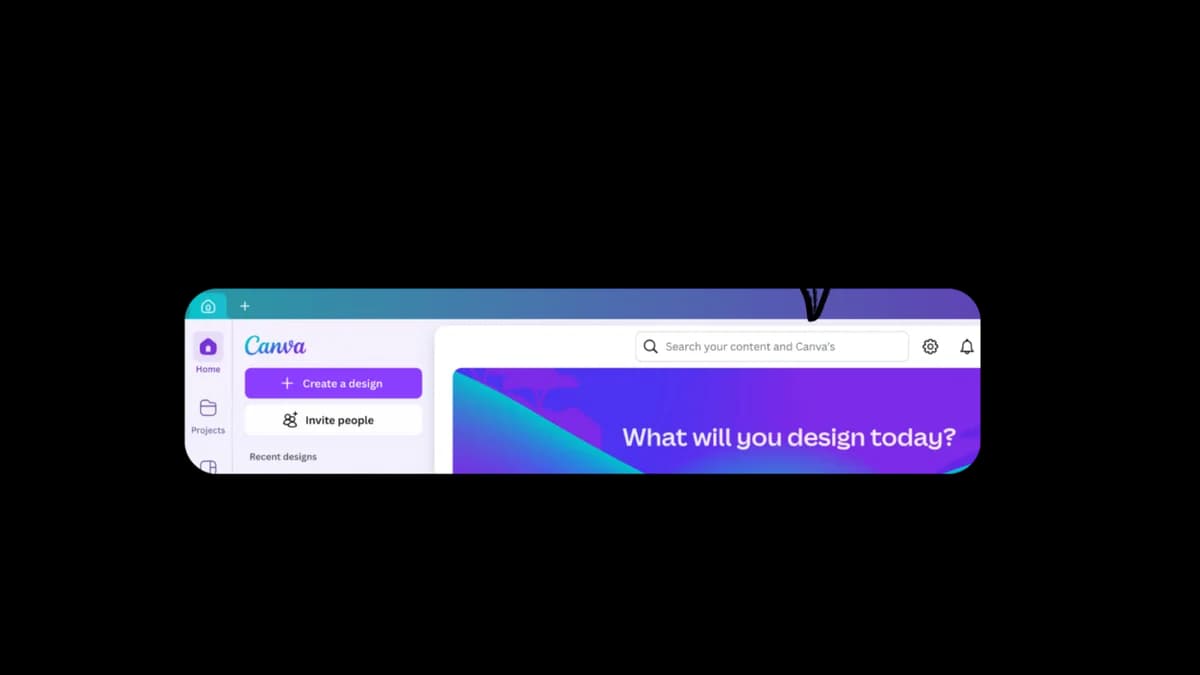
Design your Sticker.Now that your QR code is ready move on to the steps to create the sticker. The first step is to choose the right tool for it. Canva is an easy-to-use design tool that provides a wide range of templates and various editing options. Let’s create a QR code sticker on Canva:
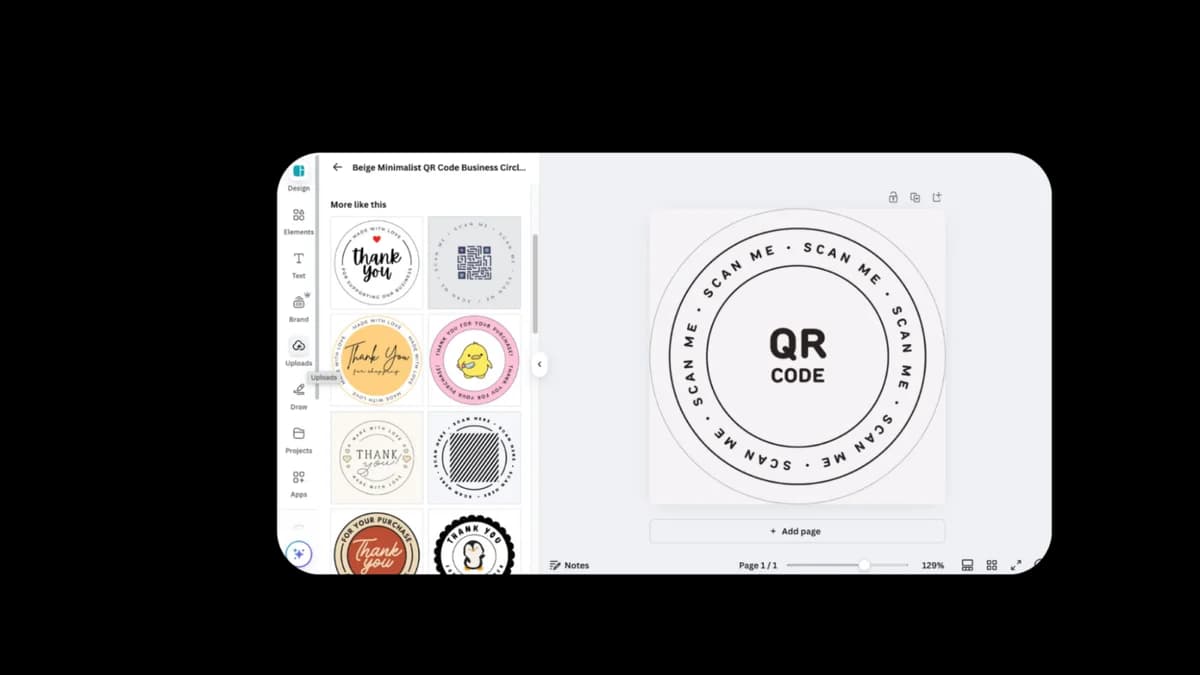
- Go to Canva and type ‘Sticker’ in the search bar.
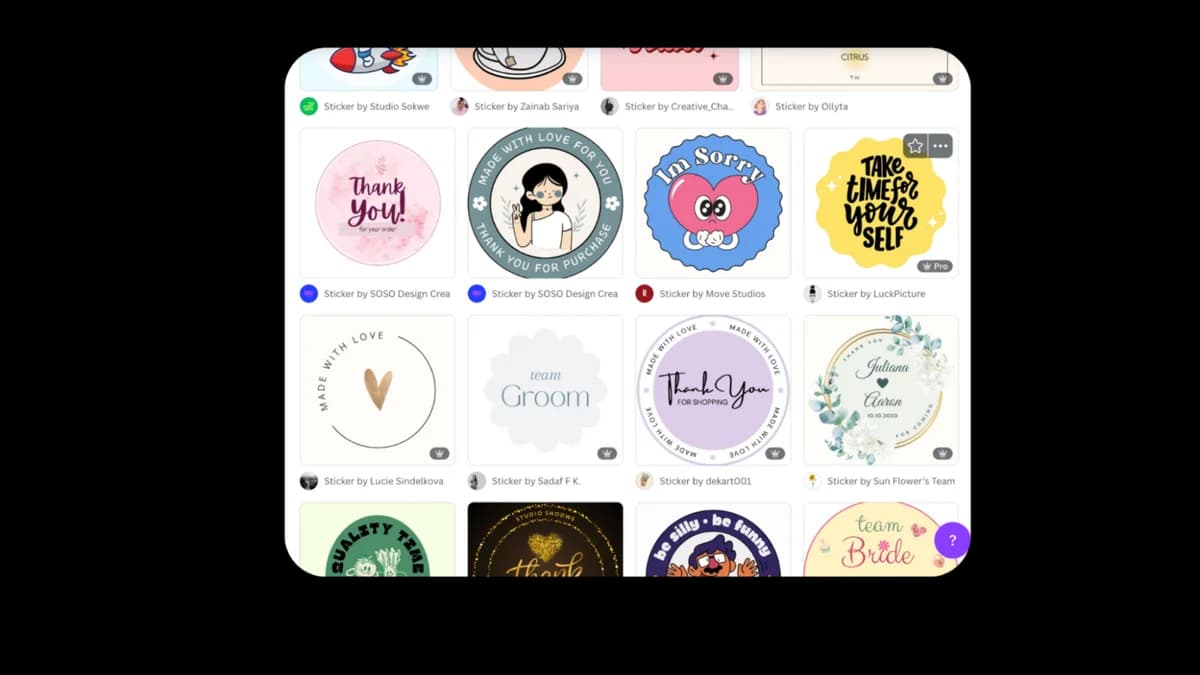
- You’ll then get to see a wide range of sticker templates. Pick the one that suits your needs the best.
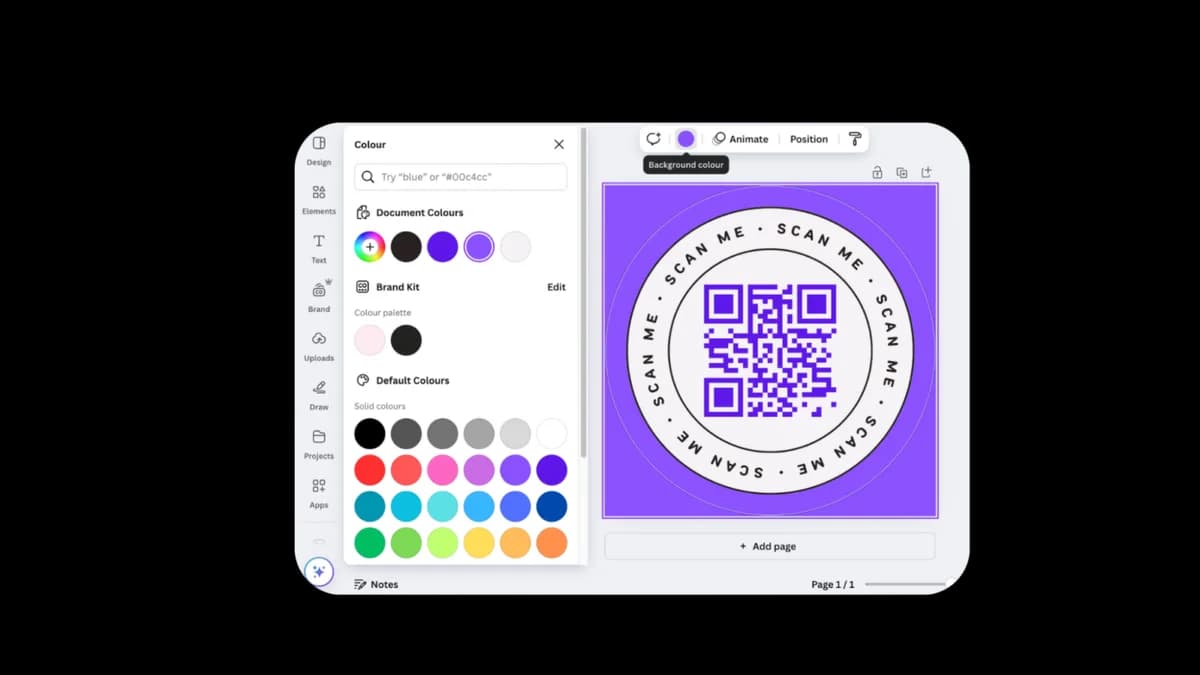
- The next step is to add your QR code to the sticker. Click on the upload option from the left bar at the 5th number. Upload the QR code from your device. Then click on it to add the code to your sticker.
- Moving on to customization. For editing your sticker, you’ll see a few options at the top bar, like color, fonts, and animation, and on the left bar, design, text, elements, etc. Even if you have picked a pre-designed template, Canva lets you modify it as you wish, but this step is totally optional.
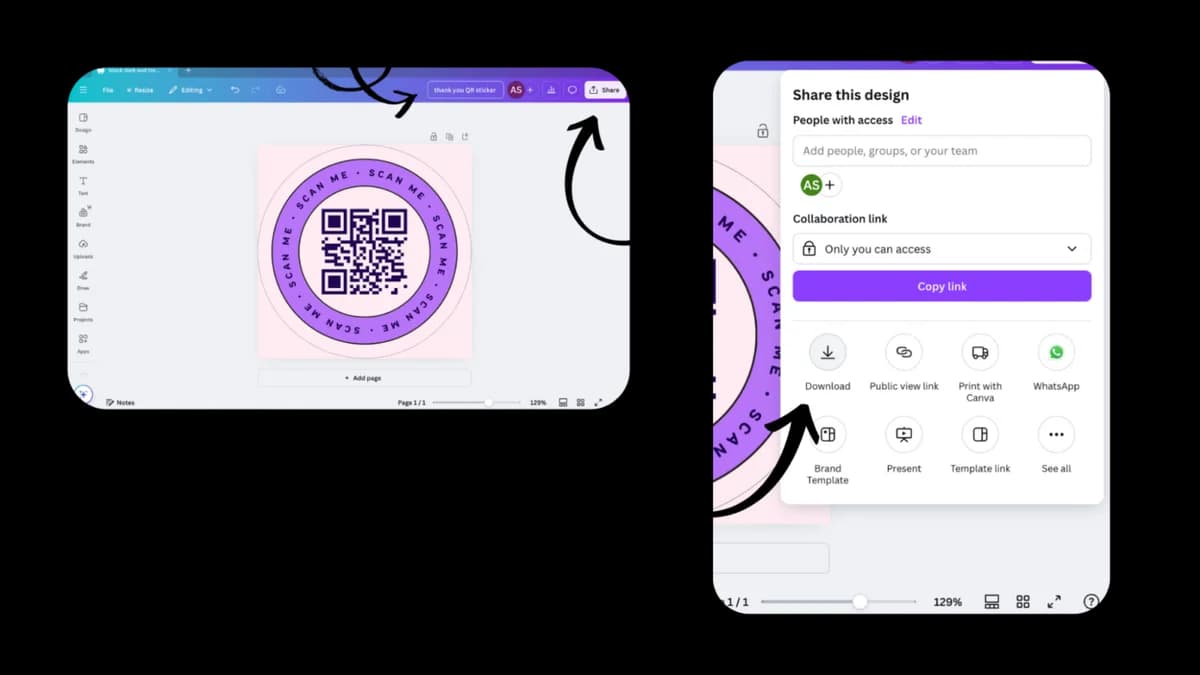
- Once you are done with customization, change the name of the file. On the top right, you’ll see the share option. Click on it to download your sticker.
Now that your QR code sticker is ready, all that is left is to print it!
Why Use QR Code Stickers?
QR code stickers are simple yet effective. They require minimal technical expertise to create and implement. Their strategic placement across various locations can significantly boost engagement and reach.
Here’s how they solve problems and drive results:
1. Boost Marketing Effectiveness
QR stickers drive better customer engagement for your business. Here are some interesting insights I came across:
- QR Codes on product packaging average up to 14% scan rate
- You can track real-time analytics (scan locations, times, devices) with dynamic QR codes to refine campaigns and maximize ROI.
2. Aligns with recent Payment Trends
QR code payments are becoming the preferred mode of payment globally:
- Citcon CEO Chuck Huang warns merchants who don’t offer QR codes to Asian consumers to risk losing 80% of their audience.
- The data shows strong QR code adoption across generations, with a 70% overall user approval rate. It is exceptionally high among Millennials (78%). Even Boomers show majority support (56%) for restaurant QR code menus.
3. Versatile Applications
QR stickers adapt to nearly any use case:
- QR codes enable cashless transactions at events, retail stores, and various other places.
- Making marketing easier. Enables sharing links to promotions, product details, or social media.
- Track packages or share real-time delivery updates. Making logistics seamless.
- Events: Simplifies ticketing, registrations, or Wi-Fi access.
Choosing the correct QR code for your stickers.
You can choose from two different kinds of QR codes for your stickers. Static QR codes and Dynamic QR codes.
Static QR codes are ideal for permanent information like business cards or product IDs.
Dynamic QR codes, however, are the best option for content that needs frequent updates, like menus or promotions. Dynamic QR code stickers allow content updates without replacing the existing stickers and offer real-time tracking features to monitor scans and other analytics.
Here’s a comparison table that might help you in choosing the best option:
| Feature | Static Instagram QR Codes | Dynamic QR Codes |
| Tracking Capabilities | No analytics available | Comprehensive scan analytics |
| URL Modification | Not possible | It can be updated anytime |
| Customization | Basic color changes | Full design control |
| Scan Analytics | None | Location, time, device type |
| Brand Integration | Limited | Custom logos and colors |
| Cost | Free | Paid subscription |
| Use Case | Personal sharing | Marketing campaigns |
| Data Collection | None | User behavior insights |
Best Practices for QR Code Stickers
| Do's | Don'ts |
| Place codes at eye level | Put codes in hard-to-reach spots |
| Add clear scanning instructions | Leave purpose unclear |
| Test on multiple devices | Skip testing |
| Use high-contrast colors | Use similar shades or patterns |
| Keep white space around the code | Overcrowd the design |
Conclusion
QR code stickers are easy to create. They provide businesses an effective way to engage with their customers seamlessly, providing them with the benefits of tracking and flexibility. By following the steps on this blog, you can start implementing QR codes to better engage with your customers.
Ready to create your QR code?
Generate custom QR codes in seconds - free and easy to use.
Create Free QR Code →